


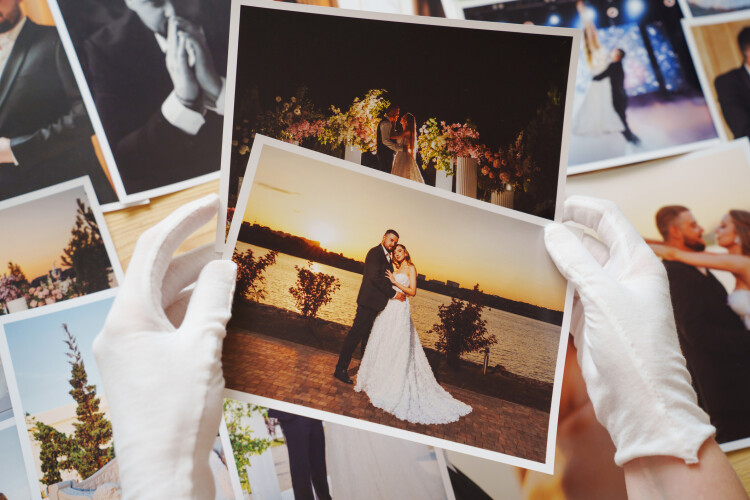
A wedding day flies by in a blur of emotions, laughter, happy tears, and unforgettable moments. Thankfully, cameras are there to capture what memory alone cannot hold. But have you ever wondered just how many photos are taken at the average wedding?
The answer might surprise you.
Today's professional wedding photographers typically capture between 2,000 and 4,000 images during a single wedding day, later curating them down to roughly 400 to 800 final edited photographs for the couple. Add in photos from guests' smartphones, photo booths, and second photographers, and a modern wedding can easily generate 4,500 to 7,000 images in total. Yikes! That’s a lot of photos.
With so many images, it's no wonder that wedding photos often end up scattered across hard drives, cloud accounts, albums, social media feeds, and forgotten digital folders. Yet among those thousands of photographs are a handful that become priceless, the images that instantly transport you back to a feeling, a moment, or a story.
At Artifcts, we call those photos the "Keepers."
The Photos That Tell the Story
Years after the cake has been eaten and the flowers have faded, the photos that matter most are often not the perfectly posed portraits. They're the images that capture emotion, personality, and connection.
Maybe it's the look your partner gave you as you walked down the aisle or your grandmother laughing during the reception. Perhaps it's the flower girl asleep under a table before the last dance, or even Grandpa letting loose on the dance floor.
These are the images that become family treasures because they tell a story. And that's exactly why preserving the story behind the photo is just as important as preserving the photo itself.
A wedding photograph without context leaves future generations guessing. Who are these people? Why was this moment meaningful? What happened right before or after the shutter clicked?
Your wedding photos tell part of the story. Artifcts helps you preserve the rest.
We Asked a Pro: Tips from Photo Archivist Jacqui O'Shea
To help couples think beyond the traditional wedding album, we reached out to professional Photo Manager Jacqui O'Shea, founder of Magic Lantern Memories.
As Jacqui explains:
"Wedding photos are often the first chapter of a new family archive, so I encourage couples and families to think beyond the formal portraits. Preserve the invitation, vows, menu, handwritten notes, candid images, and the quiet in-between moments too. Details big and small help future generations understand not just who was there, but what the day felt like."
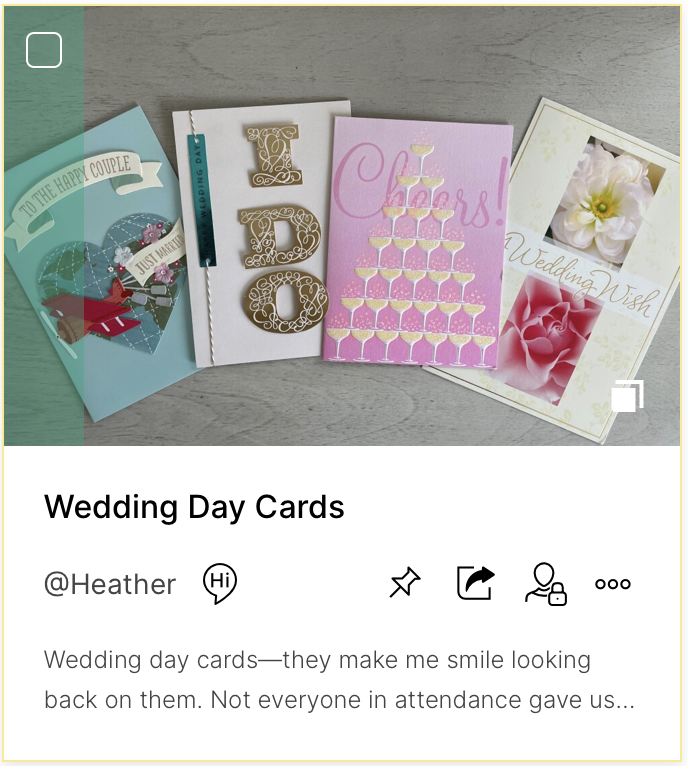
Her advice highlights an important truth: the wedding story isn't limited to photographs of people standing and smiling. The paper invitation tucked away in a drawer, the menu from the reception, the handwritten vows, and the candid snapshots from behind the scenes all contribute to the larger story of the day.
These supporting pieces can be Artifcted alongside your favorite photographs to create a richer, more complete family archive.
Bring Your Memories Into Everyday Life
Wedding keepsakes don't need to stay hidden in boxes, albums, or cloud storage. Jacqui encourages couples to find meaningful ways to enjoy their memories every day:
"Don't let your wedding photos live only in an album or digital folder. I love helping clients find creative ways to turn favorite images, details, or moments from their wedding day into wall art, collages, or other pieces they can enjoy every day. My husband and I were so in awe of my wedding bouquet that we commissioned a family artist to paint it on a large canvas, which now hangs in our front entryway. Sometimes the most meaningful keepsakes come from the small details that made the day feel like yours."
A framed photograph, a custom photo book, a shadow box of wedding mementos, or even artwork inspired by a special detail can help keep your memories present and meaningful long after the celebration ends.
Why Curation Matters
One challenge many couples face is sheer volume. Hundreds—or even thousands—of photos can feel overwhelming.
That's why Jacqui recommends a simple but powerful approach:
"My top tip is to create two collections: a complete archive and a curated story set. The complete archive preserves the full record of the day, while the curated set becomes the foundation for a coffee table book, a slideshow, an anniversary gift, or a family history project. Curation turns hundreds of images into a story you can share and revisit often."
This advice aligns perfectly with the Artifcts philosophy. Your complete collection preserves everything. Your curated collection preserves meaning. When you identify and Artifct your "Keepers," you're creating a story set that can be enjoyed and understood for generations.
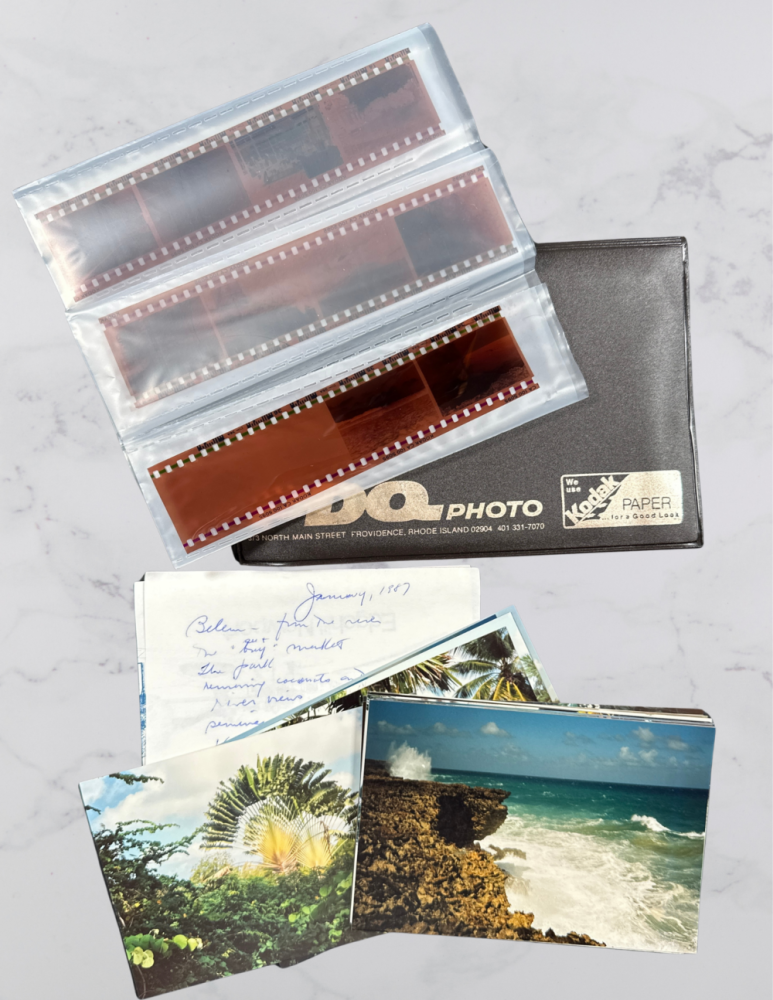
Don't Forget the Negatives
For couples married before the digital era, there's another important consideration: preserving original negatives. Many people assume that negatives stored safely in envelopes or boxes will last indefinitely. Unfortunately, that's not always the case.
Jacqui recently encountered a striking example:
"Don't assume that your wedding negatives are still in good condition simply because they were stored safely after your special day. I recently worked with a client who had hundreds of negatives from her stunning 1988 coastal wedding. Although the negatives were stored in their original envelopes with protective wrapping, chemicals from the developing lab eventually leached onto the film strips, damaging the color chemistry beyond repair (and no printed photos to fall back on). For important negatives, inspect them periodically and consider digitizing them before age, storage conditions, or chemical deterioration makes recovery impossible."
Whether your wedding took place in 1988, 2008, or last weekend, preserving your photos requires more than simply storing them away.
Preserve the Photos. Preserve the Story.
Wedding photos are often the beginning of a family's visual history. They document not only a milestone day but also the people, relationships, traditions, and stories that shape generations to come.
Among the thousands of images created on a wedding day, a few become the "Keepers"—the photographs that define the experience and carry its meaning forward. Don't leave those stories to chance.
Artifct your wedding "Keepers" and preserve not only what happened, but why it mattered. Choose the photographs that immediately spark a memory. The ones that make you smile, laugh, cry, or tell a story every time you see them. Add the names of the people in the photo. Share what was happening. Explain why the moment was meaningful. Include details that only you know today.
Doing so will ensure that years from now, your children and grandchildren won't just inherit images—they'll inherit memories.
###
Don't Let the Story End with the Photo
Thousands of wedding photos may capture what happened, but the stories behind them are what future generations will treasure most.
Start preserving the memories behind your wedding keepsakes today. Create a free Artifcts account and document the photos, vows, invitations, heirlooms, and moments that made your day uniquely yours.
Create Your Free Artifcts Account
Start with one wedding photo, one keepsake, and one story.
© 2026 Artifcts, Inc. All Rights Reserved.


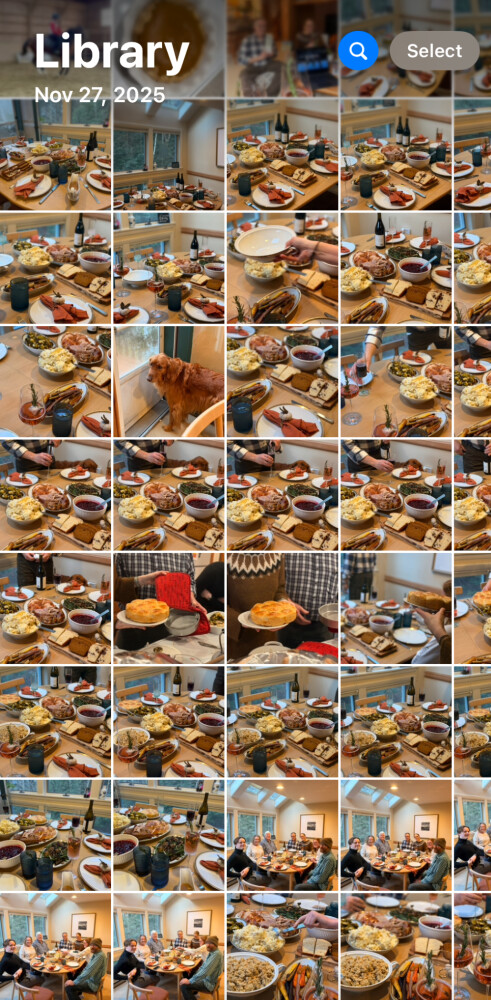 How many turkey photos does one need?
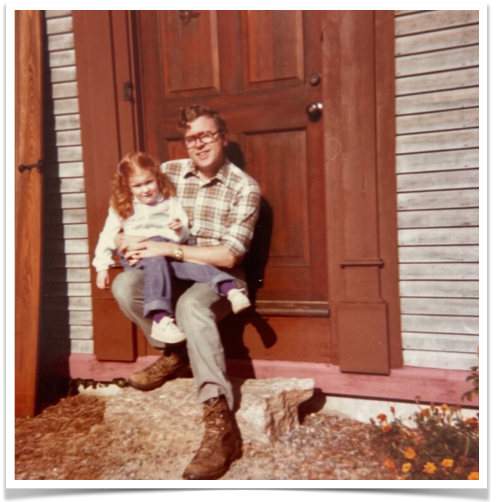 Dad & Me. Age 3.
  Surfing and surfboard photos.
  And Miles to Go Before I Sleep.
  Go Caps! Sorry, this Artifct is private.
 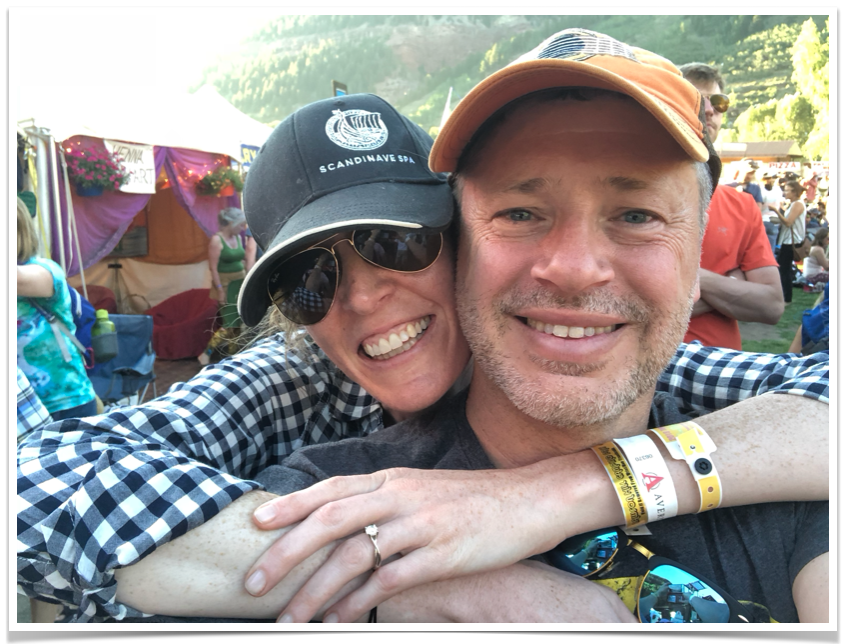 Marry Me? Sorry, this Artifct is private.